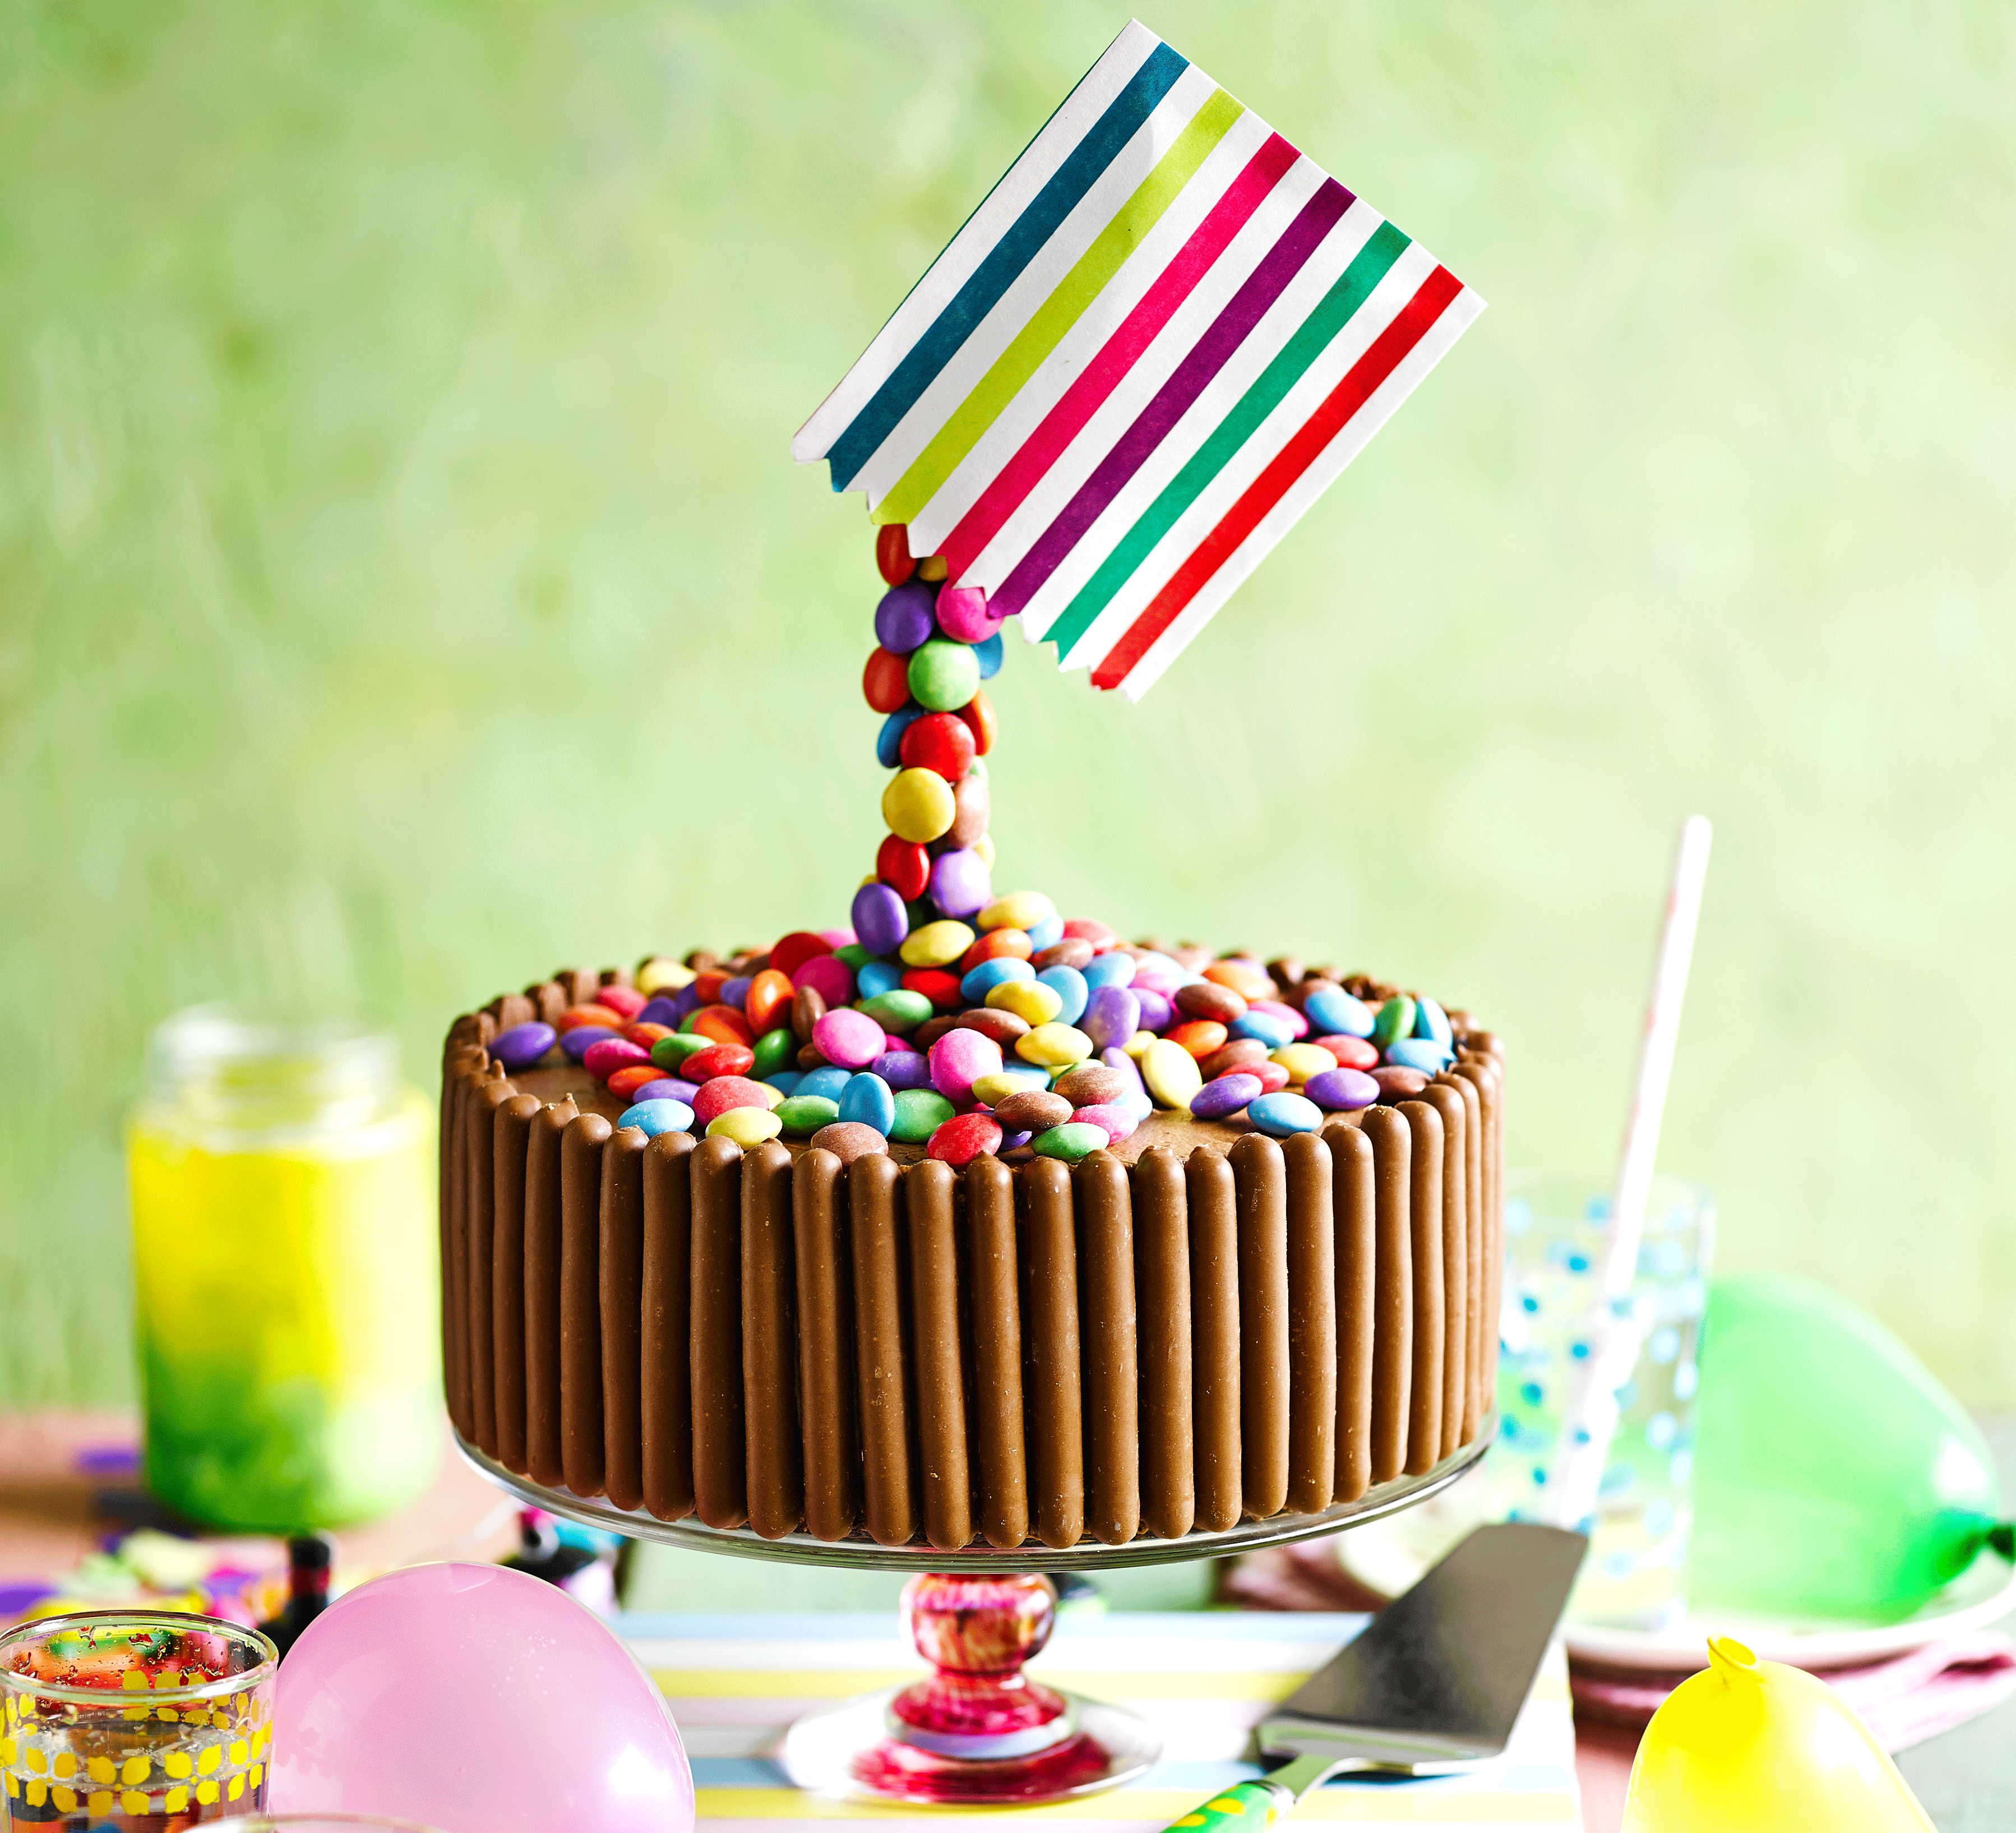

Gravity-defying sweetie cake
By Cassie Best
Anti-gravity cakes are this year’s must-have trend for birthdays or parties – this stunning Smartie cake will delight kids and grown-ups alike
-
Prep:1 hrs
Cook:35 mins
plus cooling and setting - More effort
Nutrition per serving
-
kcal 881
-
fat 45g
-
saturates 20g
-
carbs 106g
-
sugars 85g
-
fibre 4g
-
protein 9g
-
salt 1.5g
Ingredients
- 150ml vegetable oil, plus extra for greasing
- 200g plain flour
- 8 tbsp cocoa powder
- 2 tsp baking powder
- 1 tsp bicarbonate of soda
- 280g light brown soft sugar
- 200ml buttermilk
- 100ml strong coffee or espresso
- 2 tsp vanilla extract
- 2 large eggs
- 2½ x 114g packs milk chocolate fingers
- 8 tubes of Smarties, or other sweets
- 100g milk chocolate, chopped into small pieces, plus 50g/2oz for decorating
- 200g slightly salted butter, softened
- 400g icing sugar, seived
- 4 tbsp cocoa powder
- 2 tbsp milk
- 1 bendy straw
- 2 wooden skewers
- 1 paper bag or sweet packet (see tip)
- sticky tape
Tip
Top tipsFor Cassie's tips and tricks to make your cake a success, see our how to make an anti-gravity cake guide.
Buying paper sweetie bagsYou should be able to buy paper bags or sweet packets from amazon.co.uk or ocado.com.
Method
Heat oven to 180C/160C fan/gas 4. Grease and line two 20cm cake tins with baking parchment – if your cake tins are quite shallow, line the sides to a depth of at least 5cm. Put the flour, cocoa powder, baking powder, bicarbonate of soda, sugar and 1 tsp salt in a bowl and mix well. If there are any lumps in the sugar, squeeze these through your fingers to break them up.
Measure the buttermilk, coffee, oil and vanilla in a jug. Add the egg and whisk until smooth. Pour the wet ingredients into the dry and whisk until well combined. Pour the cake mixture evenly into the two tins, and bake for 25-30 mins until risen and a skewer inserted into the centre comes out clean. Cool in the tins for 10 mins, then turn out onto a wire rack, peel off the baking parchment and leave to cool. These sponges can be made up to three days ahead and will stay moist if wrapped in cling film, or you can wrap well and freeze for up to two months.
To make the chocolate fudge icing, put the chocolate in a heatproof bowl, suspended over a pan of barely simmering water. Stir every now and then until melted. (Alternatively, melt in the microwave, stirring the chocolate every 20 secs so it doesn’t burn.) Remove the bowl from the heat and leave to cool a little. Meanwhile, put the butter and icing sugar in another large bowl and mash with a spatula to combine (this will prevent you covering the work surface in icing sugar), then whisk with a hand mixer until smooth. Sift in the cocoa and pour in the melted chocolate and milk, then mix again until smooth.
Use roughly half the icing to sandwich the cakes together on a cake stand or board. Use a palette knife to cover the entire cake with the remaining icing – don’t worry about being too neat. Use the chocolate fingers to cover the sides of the cakes – do this straight after icing as the icing will set after a while, and the chocolate fingers won’t stick.
Melt the remaining 50g chocolate in the microwave or in a small bowl suspended over a pan of gently simmering water. Leave to cool until the chocolate is a spreadable consistency. You can speed this up by putting it in the fridge – just stir it every 5 mins or so to prevent the chocolate from setting.
Push a skewer into the centre of the cake and slip the straw over the top – this will give it more stability. Push 1-2cm of the straw into the cake. Use a cutlery knife to spread a blob of chocolate onto a Smartie and, starting at the base, stick the Smarties to the straw. You will have to do this in stages to allow the chocolate to set a little before adding another layer of Smarties. Work your way up the straw until it’s completely covered. If the chocolate in your bowl becomes too firm, simply heat again until it is at the correct consistency. Stop when you reach the bend in the straw.
Stick the remaining skewer into the top of the straw so that it pokes out at an angle. Place the paper bag on top – you may have to use a little sticky tape to hold it in place. If any of the straw is exposed, cover it with more Smarties.
Tip the remaining Smarties on top of the cake to flood the surface. Will keep well stored in an airtight tin for 2 days.